Node.js For Beginners. Deploy Your Blog to Heroku
Error pages are not what typically appear on your screen when you’re surfing the web, but when it happens it’s so annoying! To see how servers work from within, we will build a simple web server by ourselves. We will use Node.js as a server part technology for that task. Then we’ll use Heroku cloud application platform to turn this local server into a world wide server. Why should I?
Hi, everyone! Don’t know how about you, but my weekend was great!
Friday evening. I came home from work, fed my cat, grabbed some pizza, and wanted to have some fun. What could be funnier than good old movies? Nothing, right? So, I went to “IMDB Top 500” to choose one. Then this happened:
And I had to choose my evening movie randomly. It was “Sharknado”. Should I say that my Friday was ruined?
To be honest, this is not what typically happens when you are surfing the web. But when it does… Man, it’s so annoying! It’s annoying, but we’re curious, aren’t we? And, for our curiosity to be satisfied, we will build a simple web server by ourselves. It will help us to see how it works (or how it won’t work) from within.
- Pretty simple, but it’s a server! First of all, we need to create a JavaScript file. Let’s name it server.js:
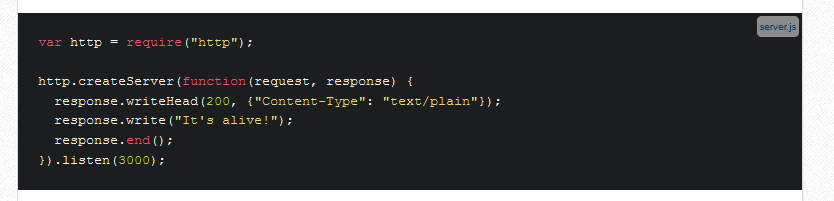
It’s simple. It’s tiny. But it’s a server! Let’s make sure it’s working. Run at your terminal:

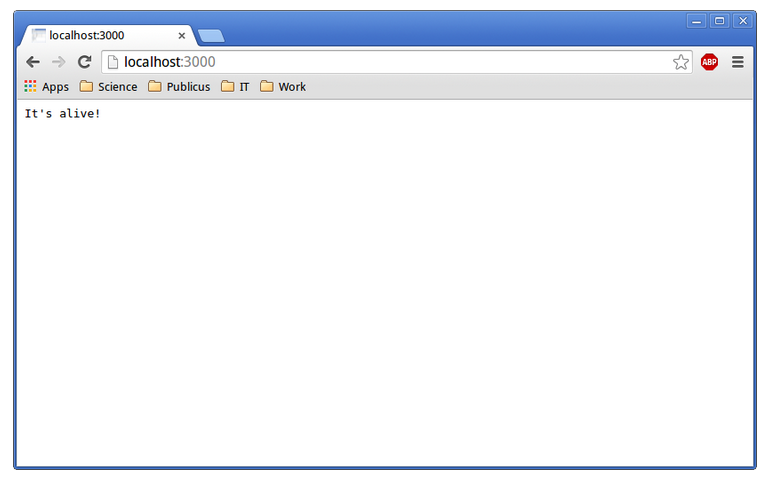
Then check it in your browser. Your new server’s address, as you may guess, is http://localhost:3000/ Mine is working. How about yours? Hope, it’s working too.
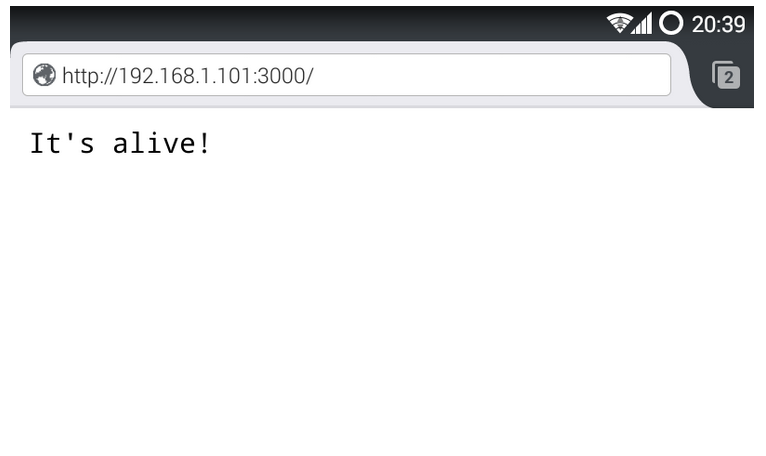
Now, to be sure it’s a web server and not just a piece of code that returns a single line of text, we’ll use it as a server! You can check it with your smartphone. Let’s suppose, your laptop’s IP address within your local network is 192.168.1.101. You can connect to your server through the 3000th port (for this particular example) by typing http://192.168.1.101:3000/ in your browser. Works well in my case:
To start your server locally run:
node server.js
References:
- Node.js For Beginners. Deploy Your Blog to Heroku Read the full article here